 Updated : Wed, August 16, 2017 @ 9:13 AM
Here we continue our “Imaging Stellaris Assays” blog series. We last left off talking about the most important components: the microscope and the hardware features necessary to detect your Stellaris signal. In this blog article, we will walk you through the technique of finding your cells and acquiring a sharp and stunning image.
With the assumption that the microscope is on and all necessary components are synced and connected to the software, place the microscope slide into the slide holder, move a 10x objective directly under (if using an inverted scope) or over (if using an upright scope) the center of your coverslip, and begin to find your plane of focus. This is best done by using the DAPI channel to focus on the nuclei of your cells, which were stained according to the adherent cell protocol. DAPI (4', 6'-diamidino-2-phenylindole) binds strongly to A-T rich regions of double-stranded DNA. Bound to DNA, this dye absorbs light with a maximum of 358 nm and brightly fluoresces with a maximum at 461 nm. Once directly under or over the center of your coverslip, select the DAPI filter and start to search for the nuclei of your cells.
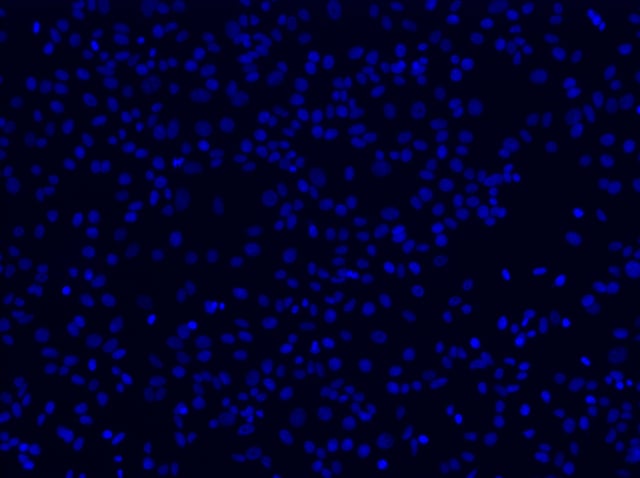
10x FOV of cell nuclei through DAPI filter
Once you have succeeded in producing a comparable image to the one above, move your objective away from the slide and rotate to the next higher objective. The slide should remain fixed so that you are only moving the objective. Most microscopy platforms today have an encoded stage that retains the z-value of your last position when rotating objectives. The idea is to transition towards higher magnification optics (20x, 40x, 60x) until you reach an objective with a 1.3 or greater Numerical Aperture (NA). As you may remember, the NA is directly related to your ability to resolve the single molecules of your target RNA.
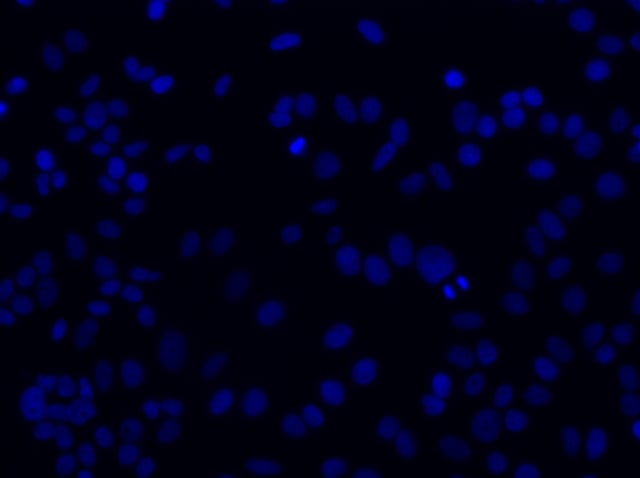
20x FOV of cell nuclei through DAPI filter
After producing an image comparable to the one given above, it is time to move on to a 60x oil-immersion objective. An oil-immersion objective means a small drop of oil must be in between the objective lens and the microscope slide, as opposed to just air. It is good practice to place that oil on the slide instead of the surface of the objective as excess oil can drip down into the barrel of the objective, if your microscope is inverted. An oil-immersion objective is used to increase the resolving power of your microscope because oil has a higher refractive index than air. The light propagating through this oil immersion lens creates a larger angle of light to be collected, thereby creating a higher NA value and the opportunity for single molecules of RNA to be resolved.

60x FOV of cell nuclei through DAPI filter
A powerful feature of Stellaris FISH is the ability to visualize different RNA variants from one or multiple genes through simultaneous detection of distinctly colored fluorescent probes (multiplexing). It’s important to remember that in order to image these distinct fluorescent labels, you must have the means to spectrally separate the fluorescent dyes using narrow band filters. After finding your plane of focus using DAPI, your next move is to select the filter suitable to detect and excite the dye molecule labeled to your target RNA. Adjust your exposure setting to 1 second and you’re ready to go Live and shine the appropriate wavelength of light on your sample.

Here we are looking at a single z-slice illustrating single molecules of RNA from the cellular proliferation biomarker MKI67 in MCF7 cells.
This image is a single snapshot in time. Or said another way, this is a single z-plane of focus. A z-plane is commonly referred to as a z-slice, and this particular z-slice has a thickness of 0.30 microns (µm). This single z-plane image is insufficient for publication. The reason is that the thickness of this single focal plane is smaller than that of an MCF7 cell and therefore most of the cell's RNA remains out of focus.
Let’s take a step back, way back, to further explain this idea. In the late 1800’s, Ernst Abbe, research director of the Carl Zeiss Optical Works, wrote down the rules for a lens to form a sharp image. He wrote that four fundamental improvements are possible - working distance, field of view, depth of field, and resolution. As a scientist who has undergone rigorous years of education and training, you are keenly aware of the concept of tradeoffs, an underlying mechanism of evolution and the existence of life on this planet. Well in optics, it’s no different! The higher the resolution that is achieved means you will notably sacrifice your field of view, depth of field, and working distance.
 Your ability to resolve single molecules of RNA relies on having a high numerical aperture objective, which gives a shallow depth of field. Let’s say for example, your MCF7 cell is, on average, 9 µm thick. Capturing a single z-plane of focus that is 1 µm-thick means you are missing out on any RNA expression that is found in the other 8 microns of the cell. Understanding the total RNA content of a cell is analogous to understanding the architecture of a building; a blueprint of any single floor is simply not sufficient, instead a compilation of blueprints for every floor is needed. You can avoid missing any relevant RNA expression by focusing and imaging up and down through the cell you are observing. This is a focus stacking technique known as z-stacking. A z-stack is the capture of multiple z-planes through your cell of interest. Try to imagine you are incrementally “stepping” through your cell. The size of your step, or stride, through the cell correlates to the thickness of each z-slice. Z-stacking allows you to capture the entire 3-D sample volume. Downstream processing will render the 3-D data and compress it into a 2-D image.

This is an acquisition box that lets you adjust the parameters of z-stacking and step size.
Here you will see how to change the step size. We recommend acquiring z-stacks with a step size of 0.25-0.30 µm. Experienced microscopists may employ a larger step-size to increase the rate of acquisition or decrease the amount of light exposure, however, it is always important that the tradeoff is understood.
Today, many wide-field fluorescence microscope systems are equipped with a motorized stage that enables the automatic capture of a z-stack. It is possible, albeit time consuming, to collect a z-stack by manually stepping through each focal plane and acquiring each z-slice individually. Either way, the end message remains the same - it is crucial that you as a researcher are acquiring all the data relevant to your experiment through z-stacking. It is through this focus-stacking technique that the depth of focus can be reconstructed to create a single image entirely in focus.

These are the 36 individual z-slices that form the complete z-stack for capturing total RNA expression of MKI67. Each z-slice is 0.3 microns thick. Various RNAs come in and out of focus as you step through the cell.
After you acquire a z-stack of your target RNA, you can now switch back to your DAPI filter. You can maintain the same XY coordinates and z-stack parameters and run the acquisition again, but this time capturing all relevant focal planes of the DAPI stained nuclei within your field of view. It is important the field of view remains identical because downstream image processing will allow you to overlay your RNA of interest within the corresponding cell nuclei.
Your microscope has been properly set up and you have successfully imaged your target RNA of interest! We hope this series has not only helped you acquire a great image, but also provided further insight and understanding into the fundamentals of microscopy. Microscopy is tricky, and it can get frustrating at times, but these are the basic to-do’s you want to follow first. Then, we promise, it gets really exciting. Stay tuned for the last article of this blog series that will go over downstream image processing.
Other articles in the series:
Imaging Stellaris Assays Part I: Get to Know Your Microscope
Imaging Stellaris Assays Part III: Creating Professional, Publication-ready Images
